Crawdad Tutorial 03
 With Crawdad Tutorial 03 it becomes apparent that fortunately, the blades of grass are interesting and are not distracting. Yay! I can continue to paint them in.
You may notice a magazine laying open on the desk, it is my favorite portrait artist’s magazine article showing the mixtures that she uses to paint different skin tones in watercolor. Look up Suzanna Winton to see this talented artist’s work. I apologize that I was unable to find this magazine in the studio so I can’t be sure if it was a copy of the Artists Magazine or the Watercolor Magazine. I subscribed to art magazines from the early 2000s to somewhere in the 2009 era. It was back when we actually looked for and read things on paper when we wanted to learn. Long ago, far away on a distant planet…

Now to paint the little boy’s skin and facial expression. In this view, you can see how the skin tones look when they are wet. They may be ultra bright-looking right now but I don’t need to worry because I know it will be a lot less bright after it dries.
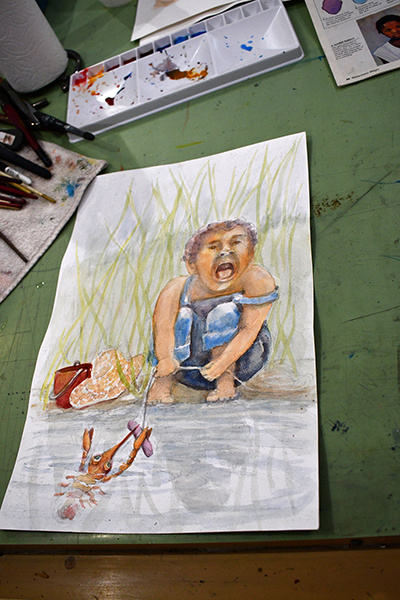 See how the skin tones appear, they are so much paler after they have a chance to dry. I finished this painting and sent it digitally to the client for approval.
 Crawdad Tutorial 02 continues with painting the next phase. The book client had requested a specific watercolor scene. As the areas of color begin to receive their light washes, you can see where the water is meeting the shoreline. There are grasses behind the main character and the horizon line shows through in the background.
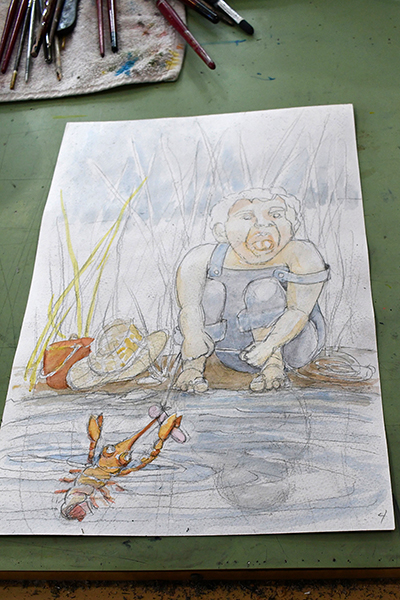 The brighter warm earth tones and the skin tone on the child are making my main characters come into a 3D feeling. This makes me confident that my plans for painting this scene are going to work out.
 You can see how I prop the little boy’s faces samples right where I can see them on my desktop as I paint. This kind of visual guide is a common aid I use to maintain consistency. After adding the dull green for the grass blade background, the color scheme seems good.
